

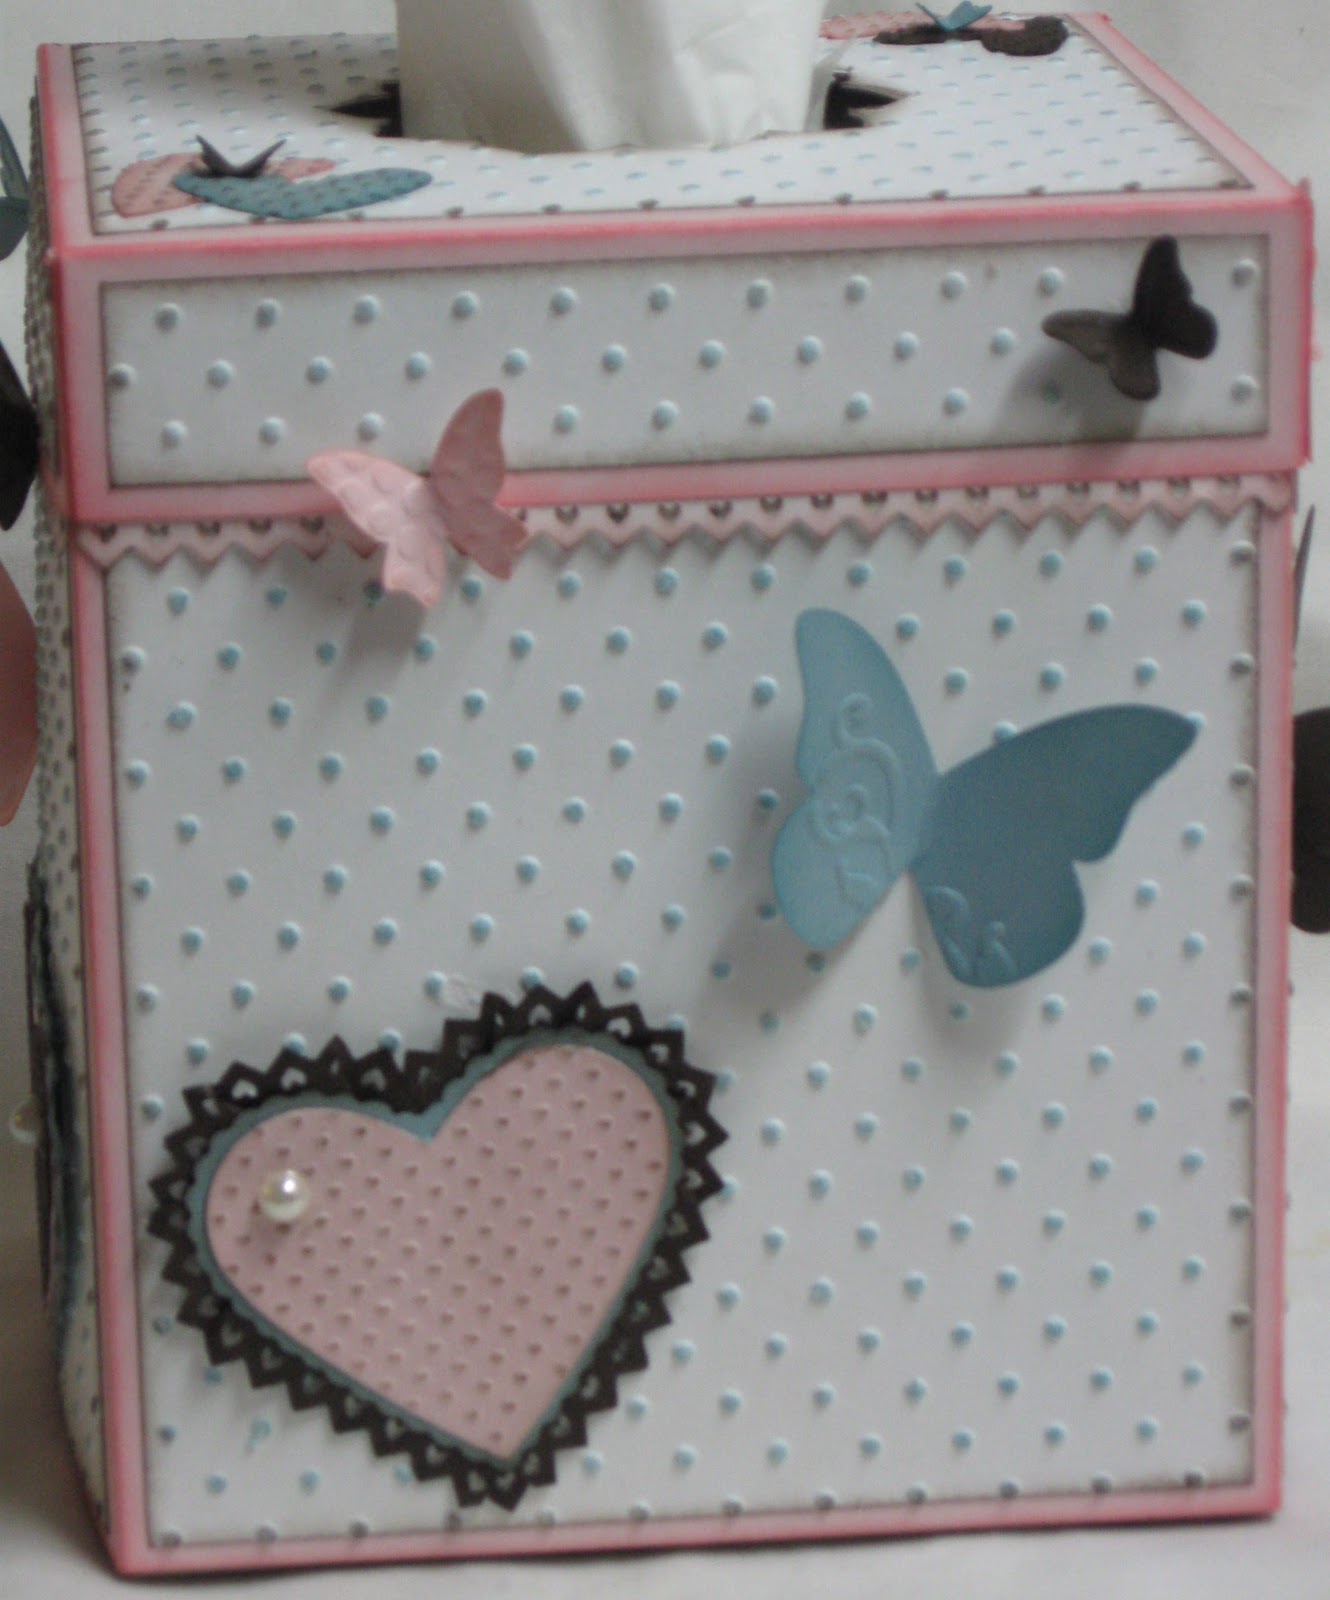
...a tissue box cover! What do you think?
I found the pattern and directions on Splitcoast Stampers. The minute I saw this project I knew I wanted to make one. I went to my Color Coach to pick the colors. I knew I wanted to use Pink Pirouette, but I didn't know what other colors to use. The Color Coach is the BEST tool ever! I came up with Pink Pirouette, Baja Breeze, and Early Espresso. It is a beautiful color combination!
The really hard part in making this was deciding how to decorate the box. I spent about a week trying to decide what to do. I didn't want it to be "Valentiney" (is that a word?), but I also wanted the frills and "girly" look to it. During that week, I just started playing with things and the lacy heart was born, see my post HERE for a free tutorial on how I made the hearts.
Here is a view of the top of the box:


Sorry this picture is blurry :O(
I will tell a little secret, that you must promise not to tell. I used a Nestability to do the opening on the top. I really struggled with how to do the top and I could only come up with a product not sold by Stampin' UP!
Here are pictures of each side of my box:


RECIPE:
CARD STOCK: Pink Pirouette, Baja Breeze, & Early Espresso
INKS: Pink Pirouette, Baja Breeze, & Early Espresso
TOOLS: Big Shot, Perfect Polka Dots Embossing Folder, Beautiful Wings Embosslit Die, Scalloped Heart of Hearts Embosslit Die, Pinking Hearts Border Punch, Full Heart Punch, Basic Pearls Jewel Accents, Stamping Sponges, & Tombow Multi-Purpose Adhesive, SNAIL Adhesive, Color Coach, & Crimper
NON-SU! TOOLS: Spellbinders Blossom Two Nestabilities (I used the middle sized one of the 5) & Kleenex Tissues
Click HERE if you would like to order any of these products.
I hope you have enjoyed seeing my tissue box! If you are interested in making one, contact me.
Happy Saturday!


2 comments:
I love it, Sandy. Very nicely done!!
Very nice, Sandy!
When I did mine recently (you can see it at http://stampinpegcadillo.blogspot.com/2011/01/tissue-box-face-three-and-four.html and the two days prior) I cut the first layer hole using a retired SU coluzzle then hand cut the other layers with a kraft knife. You might be able to use the mover and shaper die.
Peggy
Post a Comment